

How To Clear Coat A Puzzle
Covering a puzzle in a coating of epoxy resin is easy - in fact,ArtResin takes puzzles next level,giving them a professional, glossy finish and turning them into a fun piece of wall art that looks like a million bucks!
Measure, mix, pour, spread, cover and wait, and in 24 hours your puzzle will go from good to gorgeous!
Let's get started ....
Supplies:
- puzzle of your choice ( a high quality puzzle works best )
- MDF board, wood panel or sturdy board cut to puzzle's size
- ArtResin epoxy resin
- A pair of nitrile gloves, a stir stick and spreader
- a level
- a measuring cup with easy to read measurement lines
- a mixing container
- a handheld torch like our Artist's Torch
- toothpicks
- an empty plastic tote or cardboard box with the flaps cut off to protect your piece while it dries
Steps:
1. Pick a Puzzle
Pick a puzzle that you love. There are lots to choose from, but look for a good quality puzzle with thick, sturdy pieces, a snug fit, and an image that is securely affixed with no lift. Lower quality puzzles have thin pieces that are often warped and don't fit together well, and may even have images that are peeling away at the edges: any of these factors may allow the sealant or the resin to absorb into your puzzle pieces, resulting in dark spots along the seams.
💡TIP: The better the quality of the puzzle, the better the results you will have. 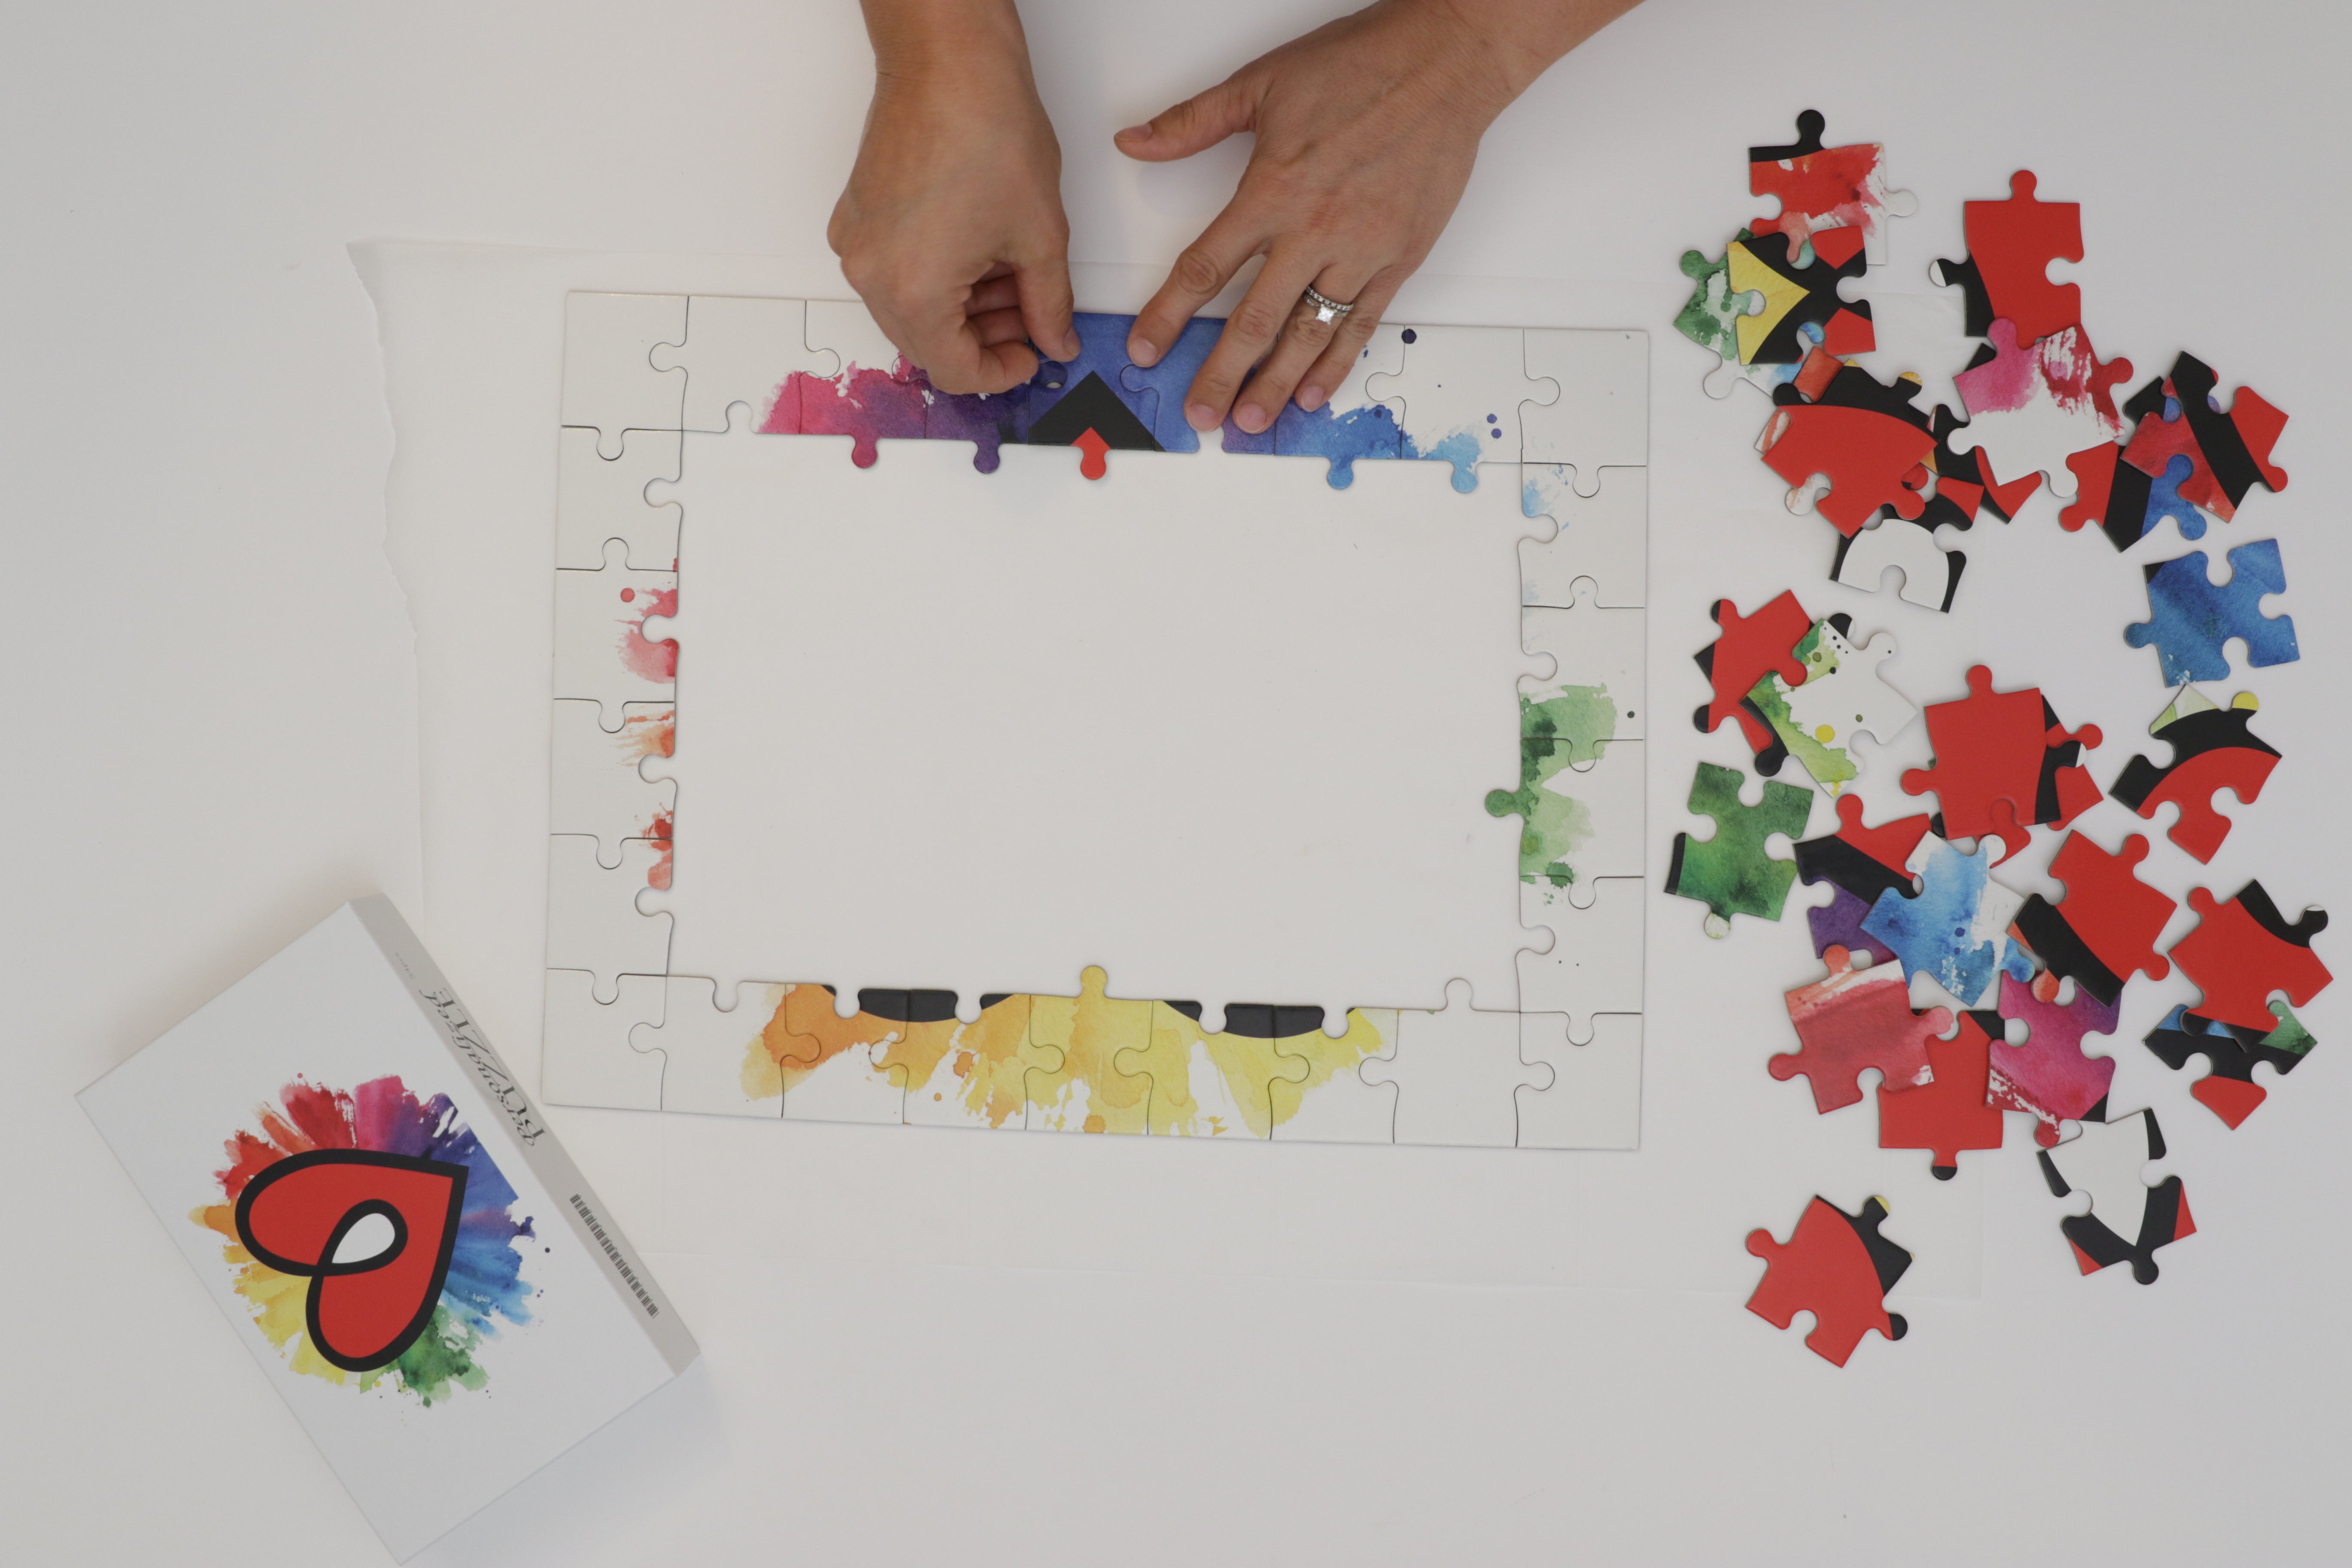
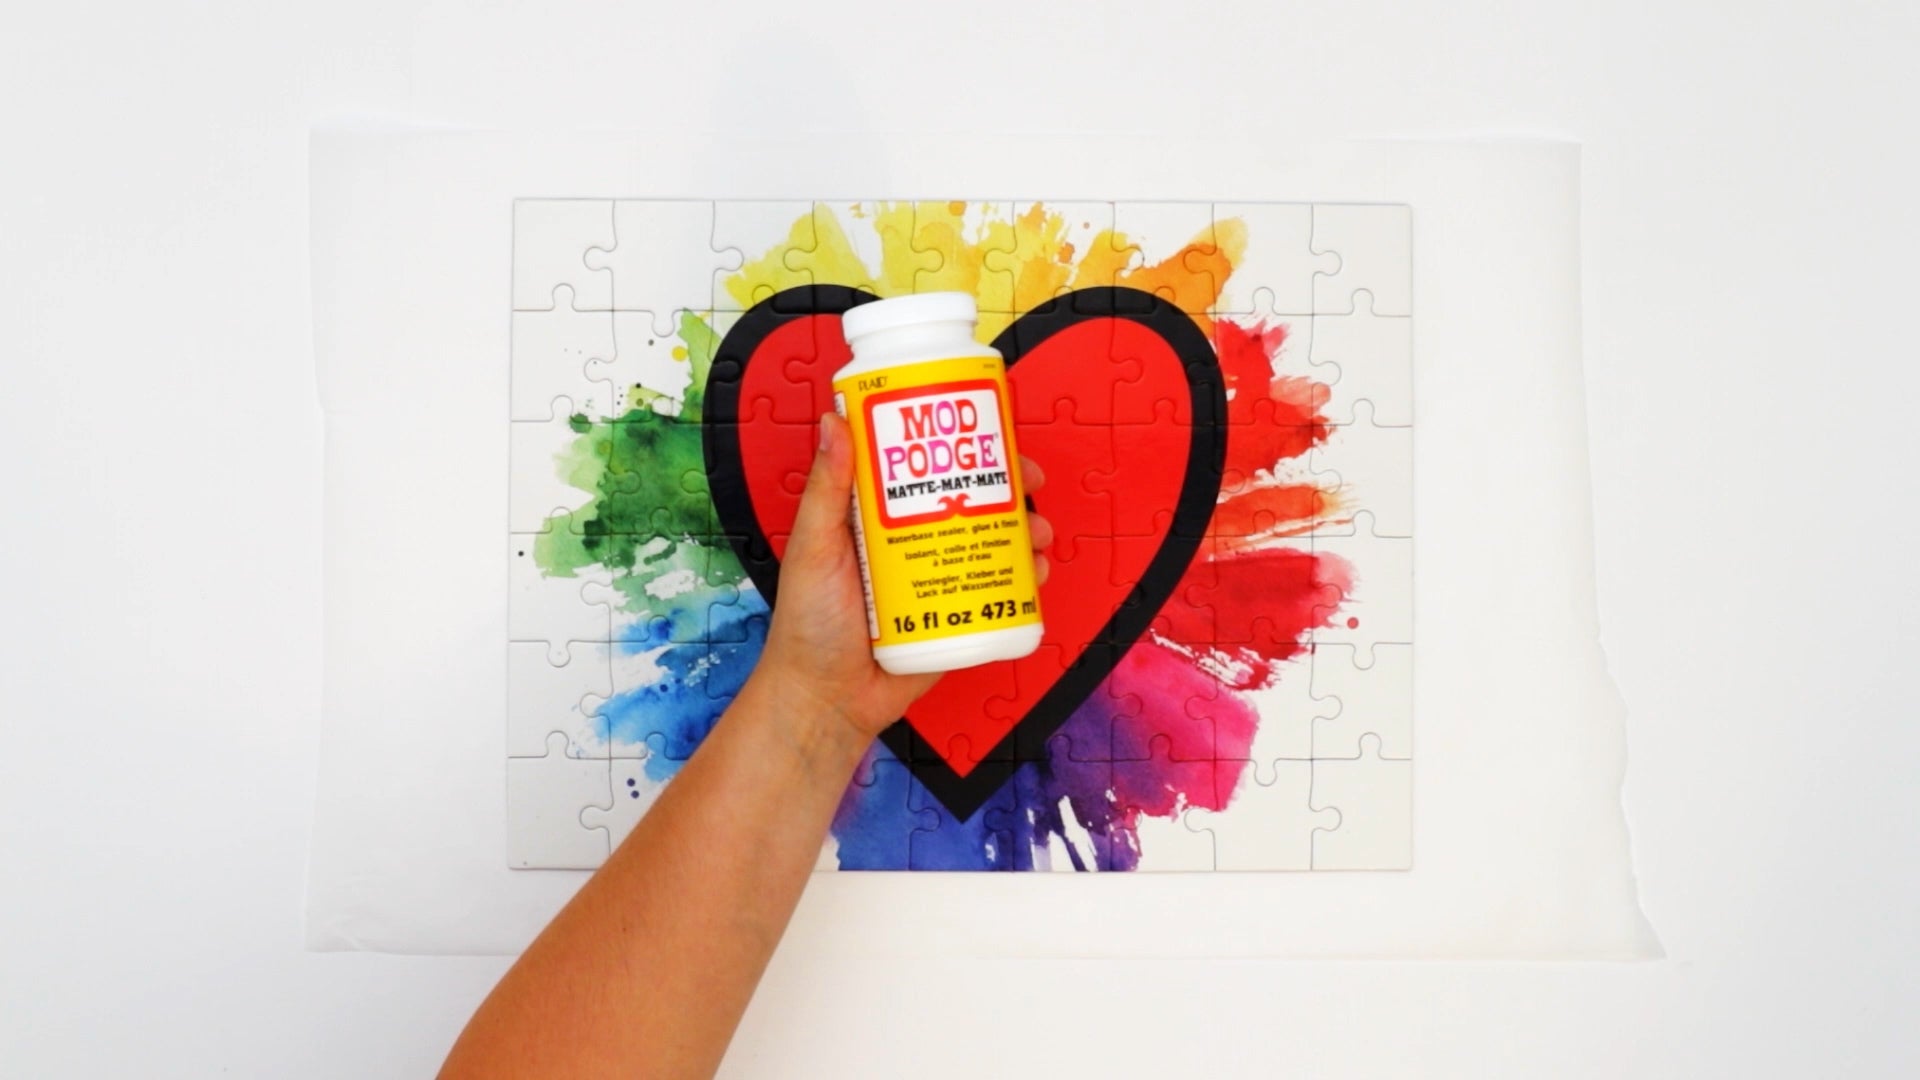
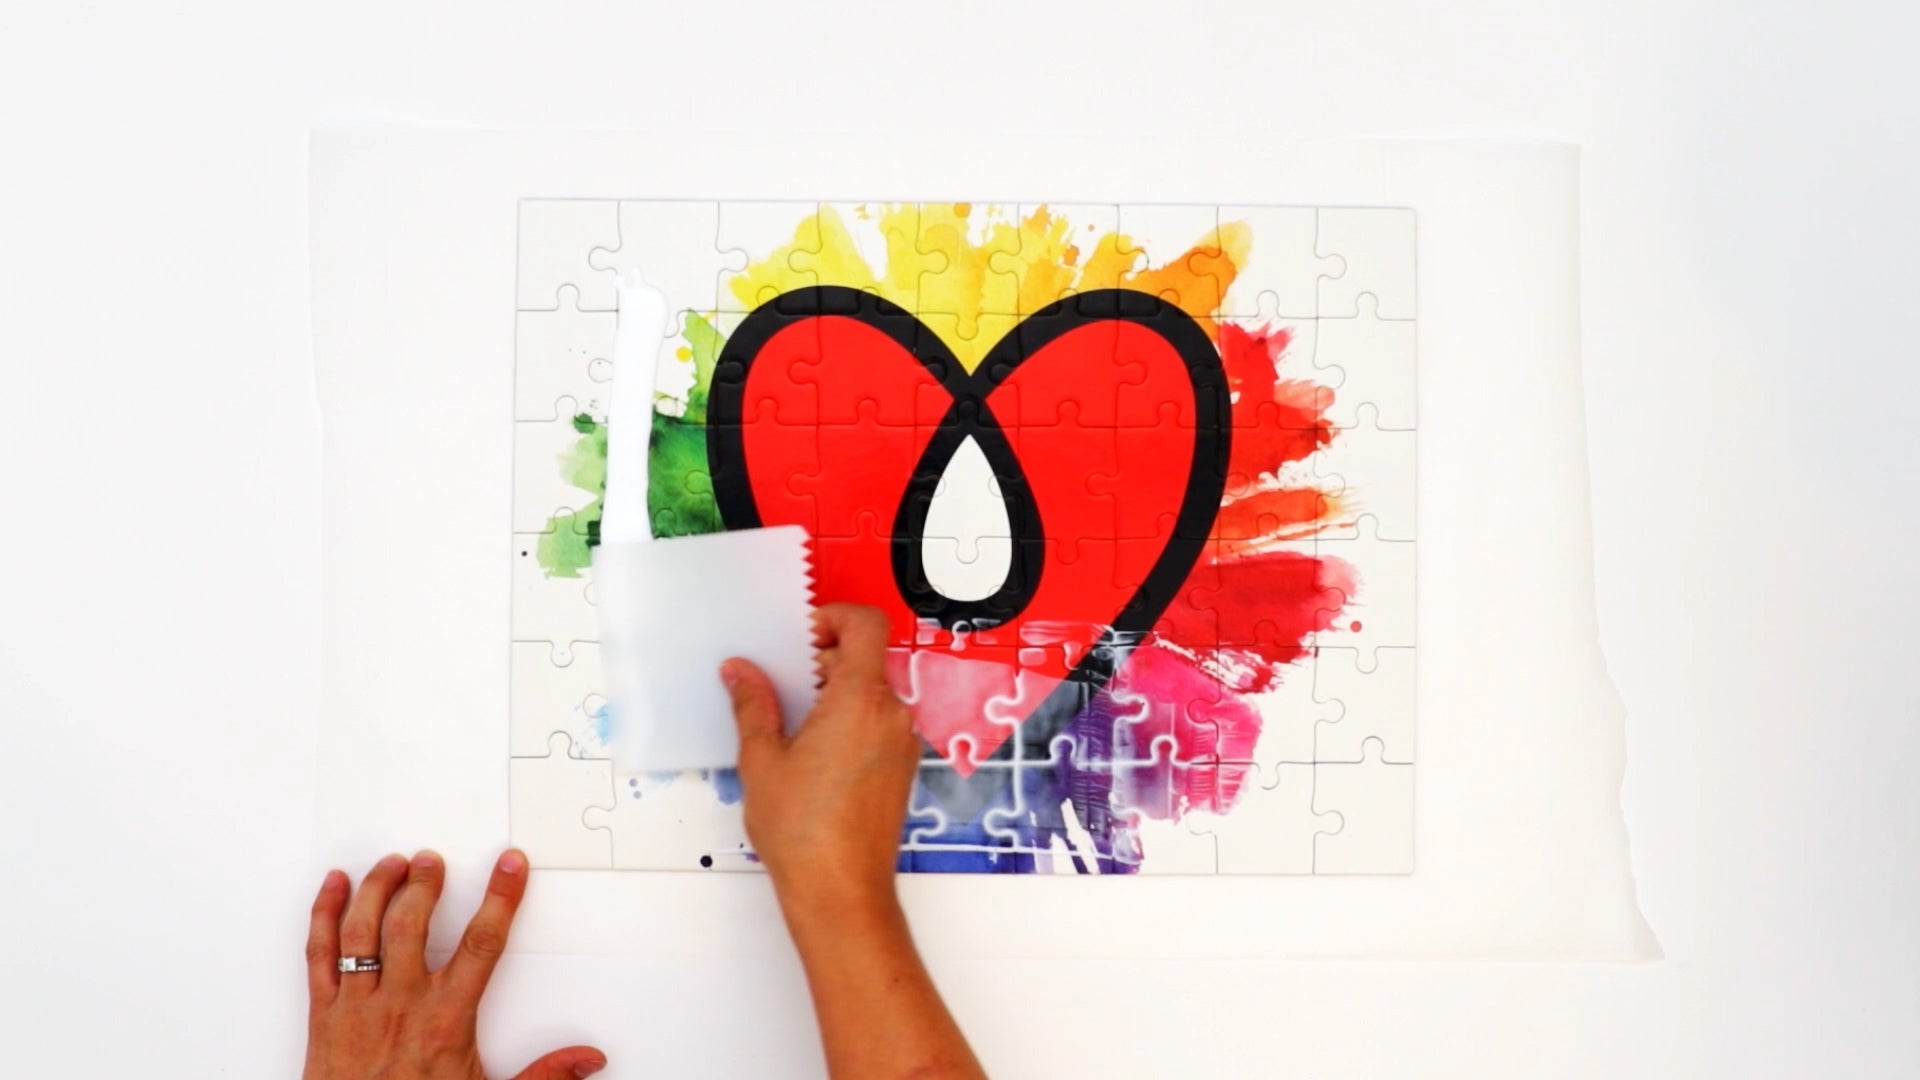
2. Assemble your Puzzle
Assemble your puzzle and seal it with a brush on sealant of your choice. We recommend using a brush on sealant like ModPodge ( rather than a spray sealant ) so that you can really get in between the puzzle pieces to help prevent the resin from soaking in. Use a gloved hand, a brush, a foam brush or, as we did, a plastic spreader. Ensure you coat the outer edges of the puzzle as well.
Allow sealant to dry thoroughly.
💡TIP: If your puzzle is lower quality, you may want to apply 2-3 coats to ensure the puzzle is totally sealed. Allow the sealant to dry throughly in between coats.
3. Apply a Thin Coat
Flip your sealed puzzle over and apply a thin coat of ModPodge or adhesive, ensuring the back is completely covered.
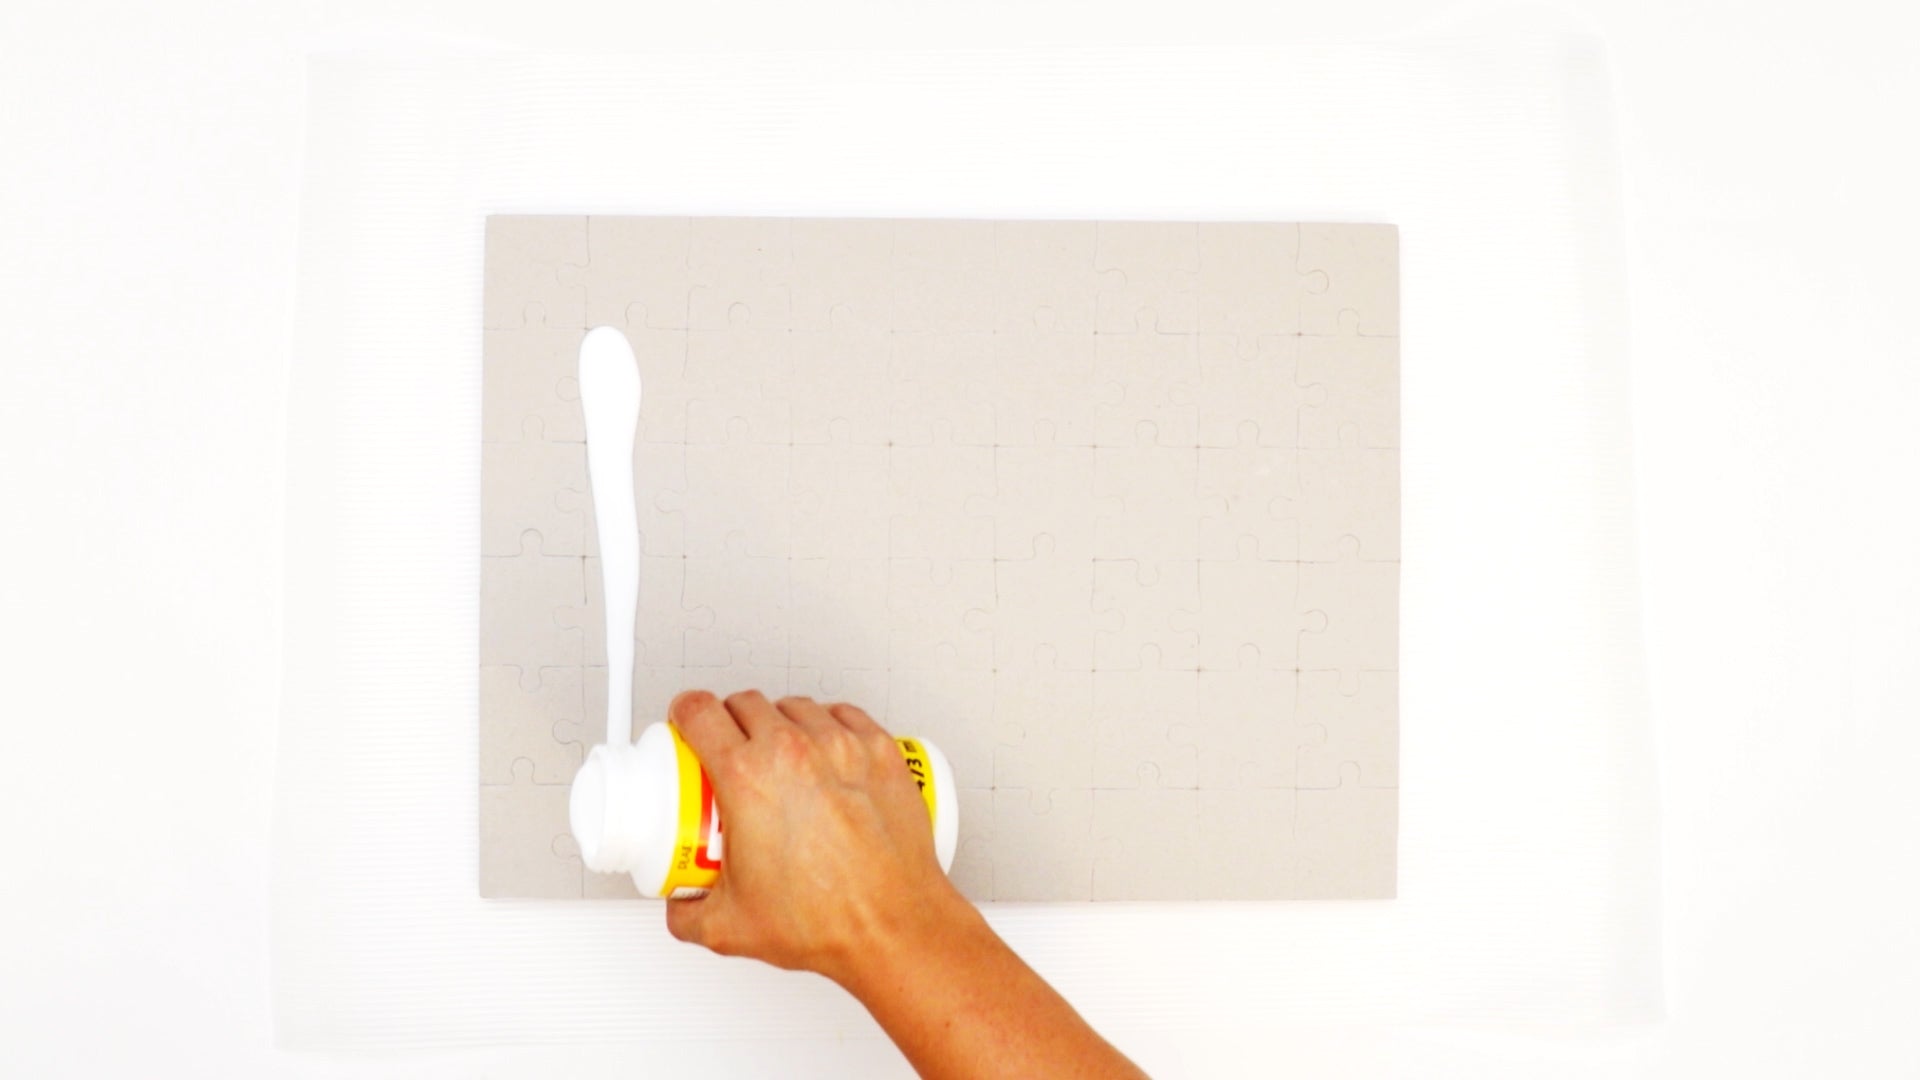

4. Mount the Puzzle
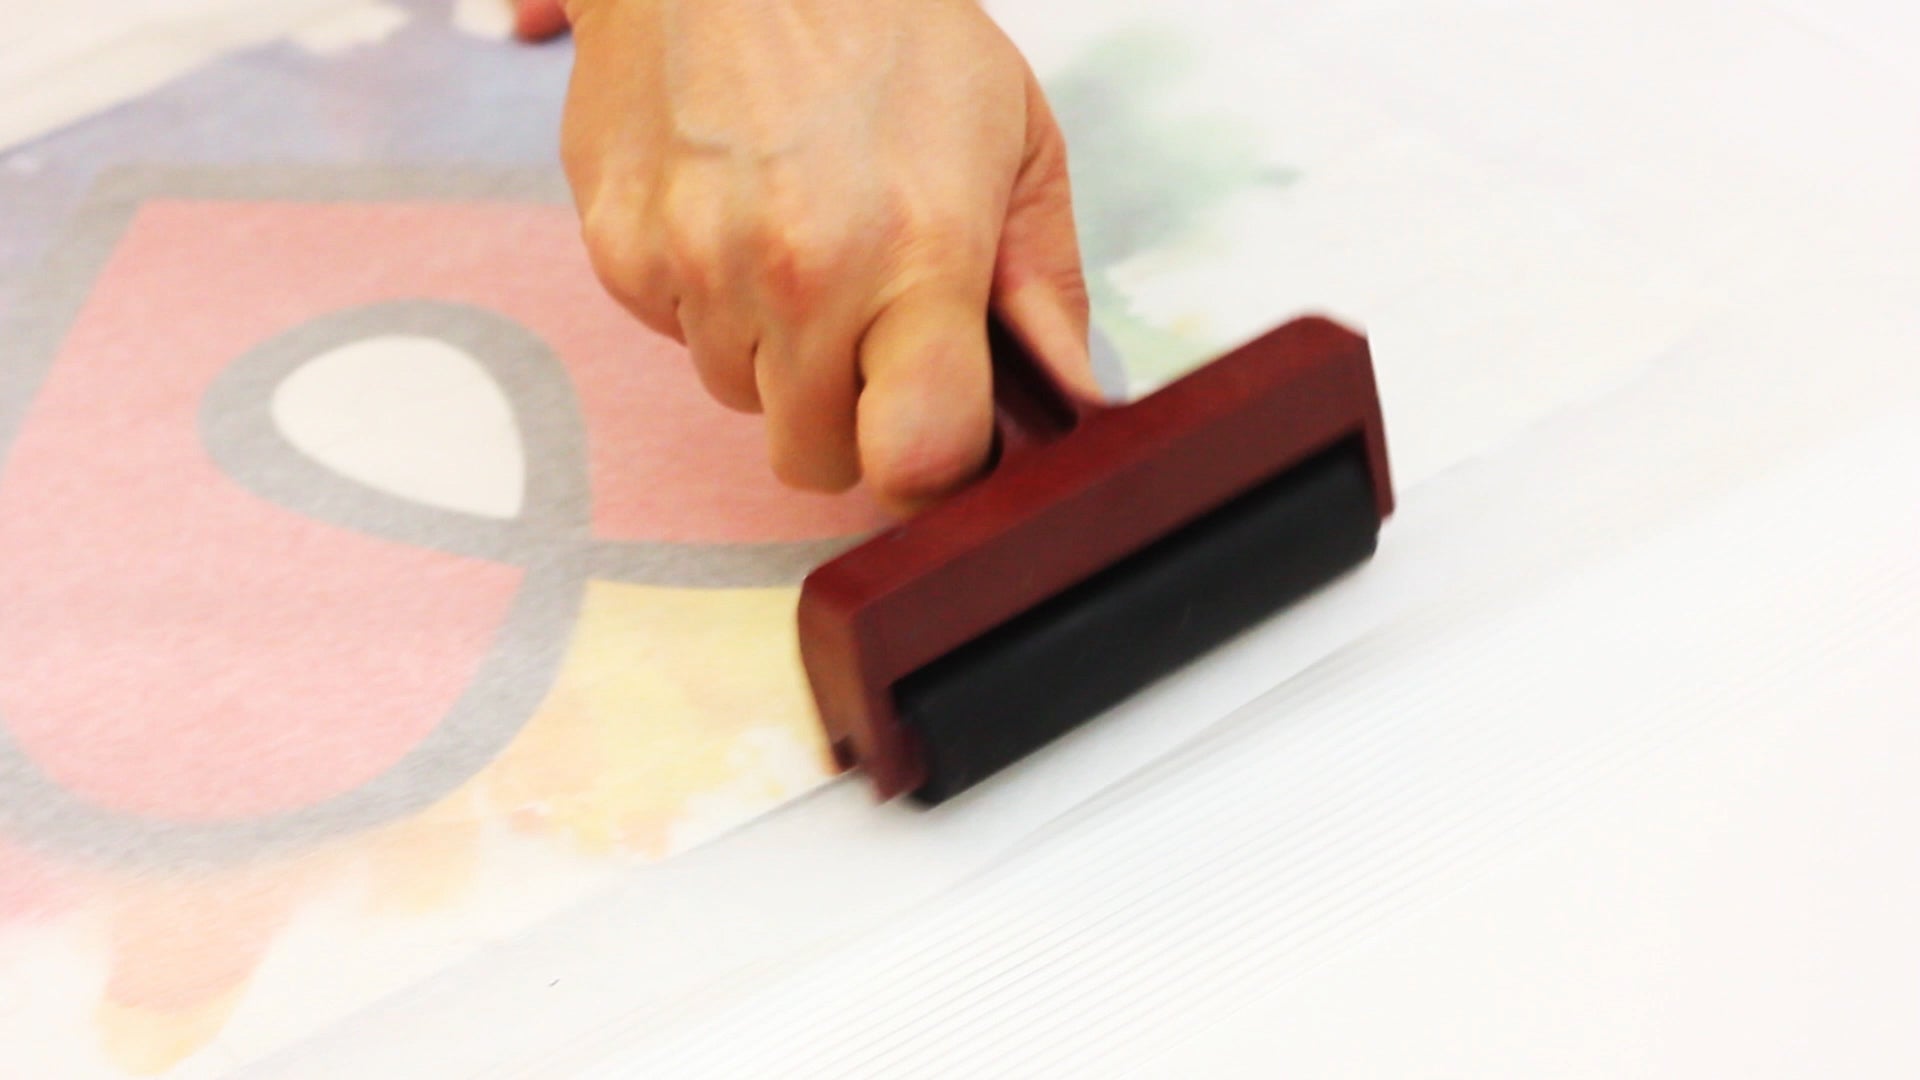
Mount the puzzle onto the board. Lay a piece of paper on top to protect the puzzle and run a brayer over the entire surface to ensure the puzzle bonds to the board. Paying particular attention to the edges. Allow the adhesive to dry thoroughly.
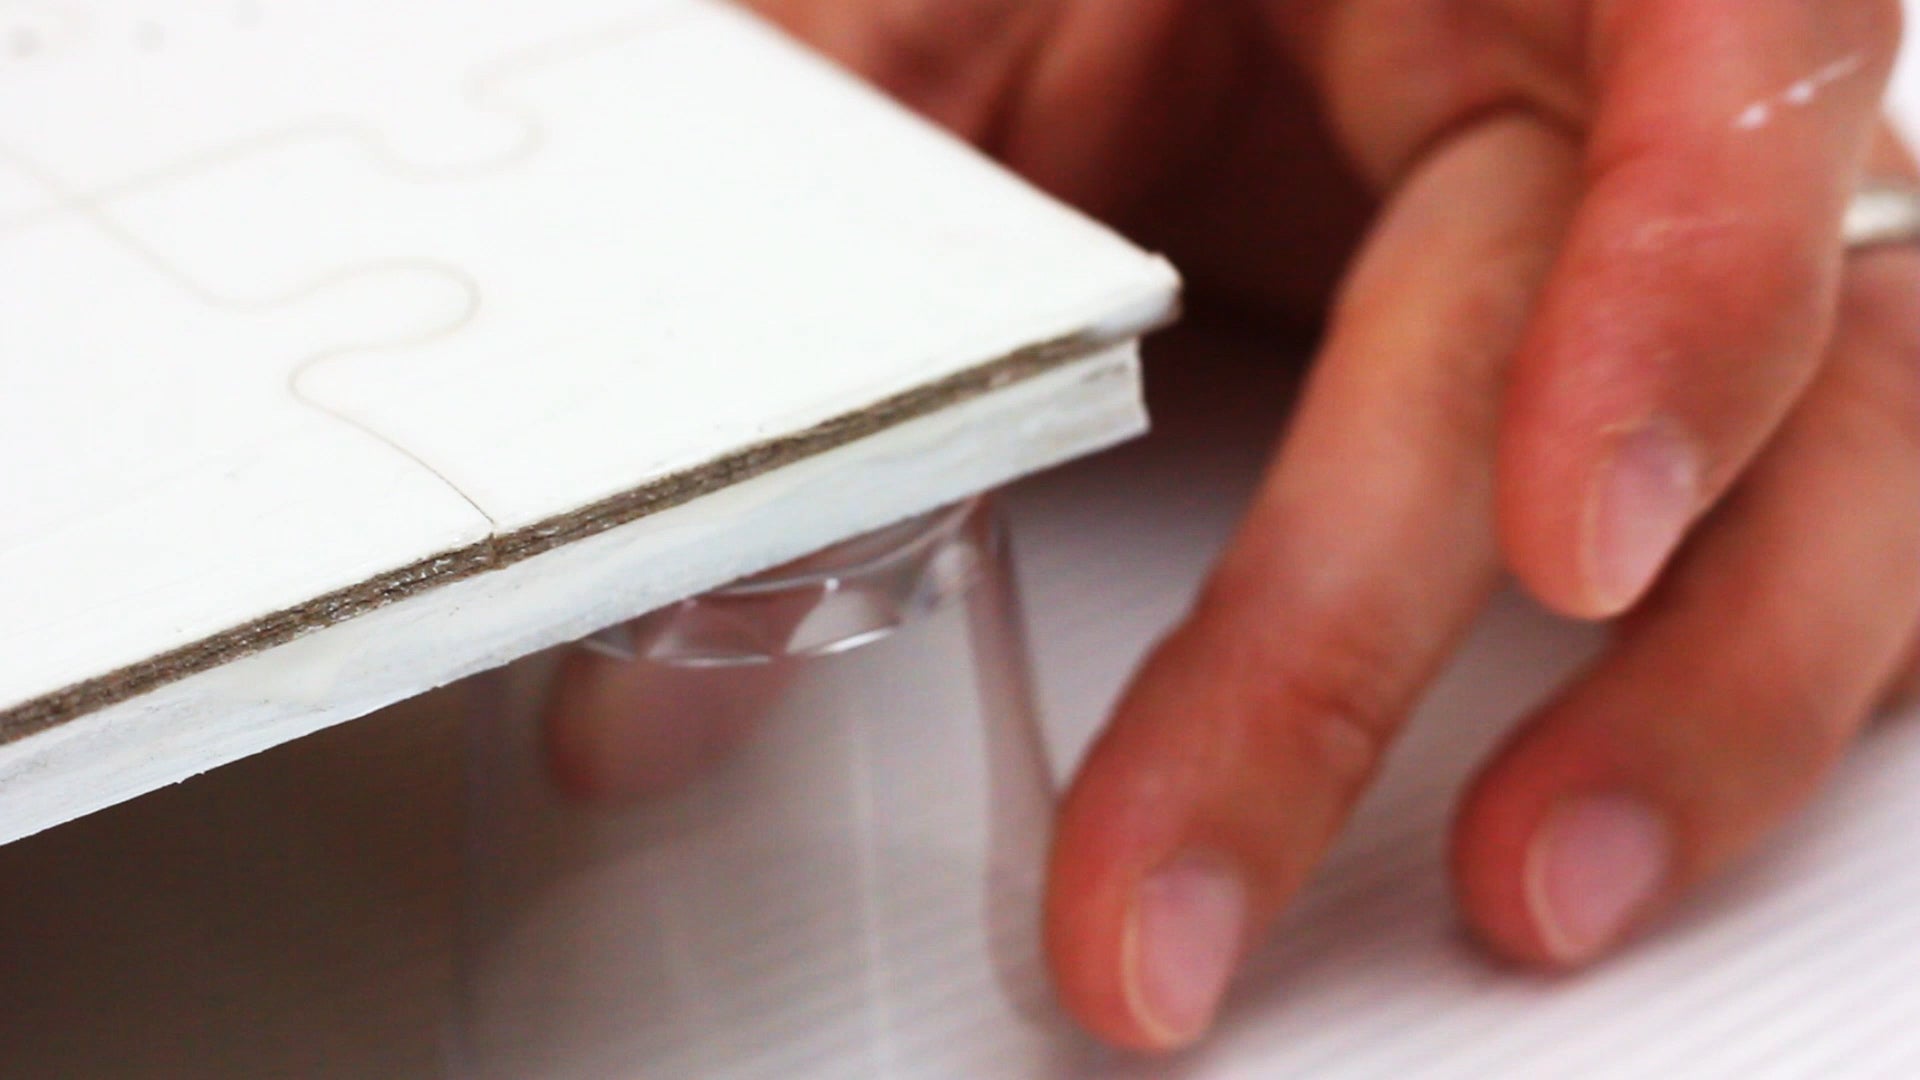
5. Prop your piece up using plastic stands
Once the adhesive has dried, prop your piece up using plastic stands ( we used overturned plastic cups ). Now you're ready to resin!
6. Calculate how much Resin you need
Using our Resin Calculator, simply enter the length and width of your piece to determine how much ArtResin you'll need.
For example, a standard 1/8" coating for a piece of art measuring 12 x 12" requires 5 oz resin ( 2.5 oz resin and 2.5 oz hardener ). 
7. Stir Thoroughly
Wearing gloves, measure accurately ( by volume ) precisely equal amounts of resin and hardener. Stir thoroughly for 3 minutes total, ensuring you scrape the bottom and sides of your mixing container as you go.
💡 TIP: for our very best measuring and mixing tips, read the blog How To Measure And Mix Resin And Hardener.


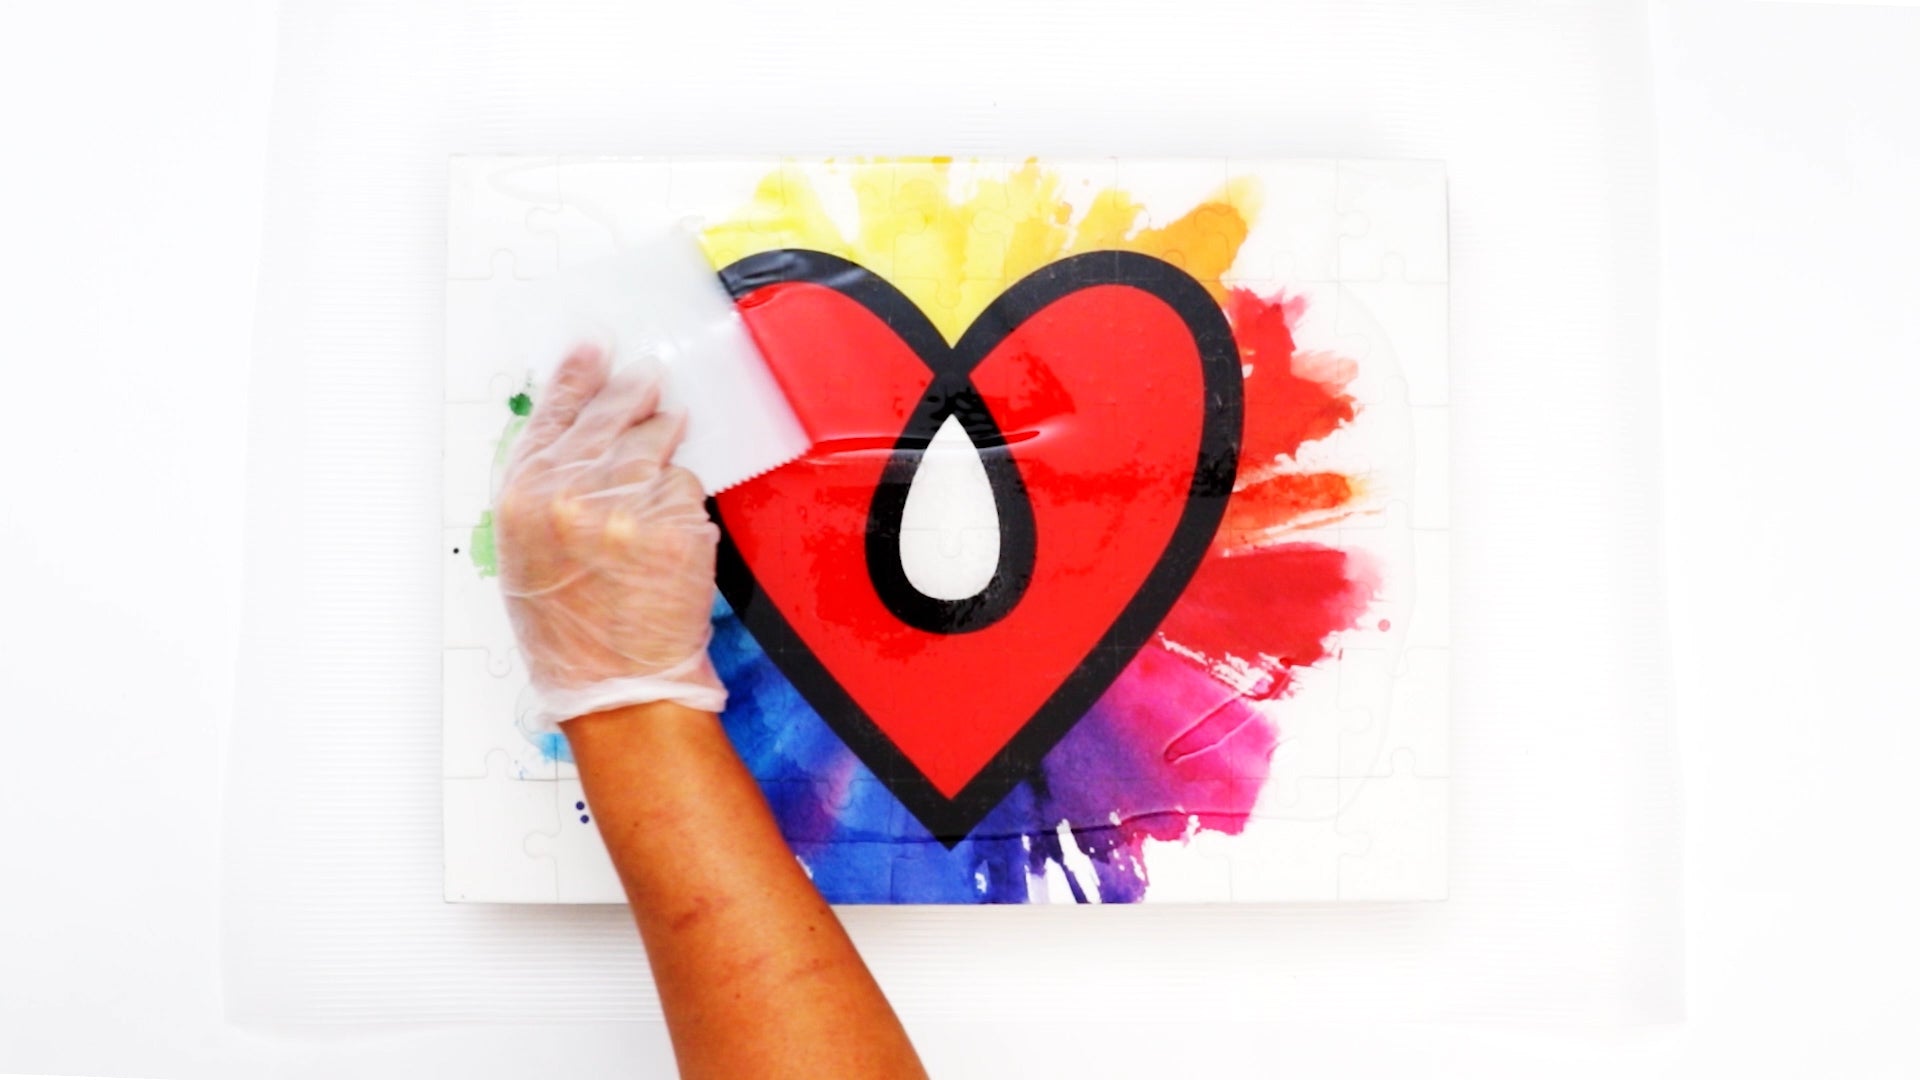
8. Pour the ArtResin
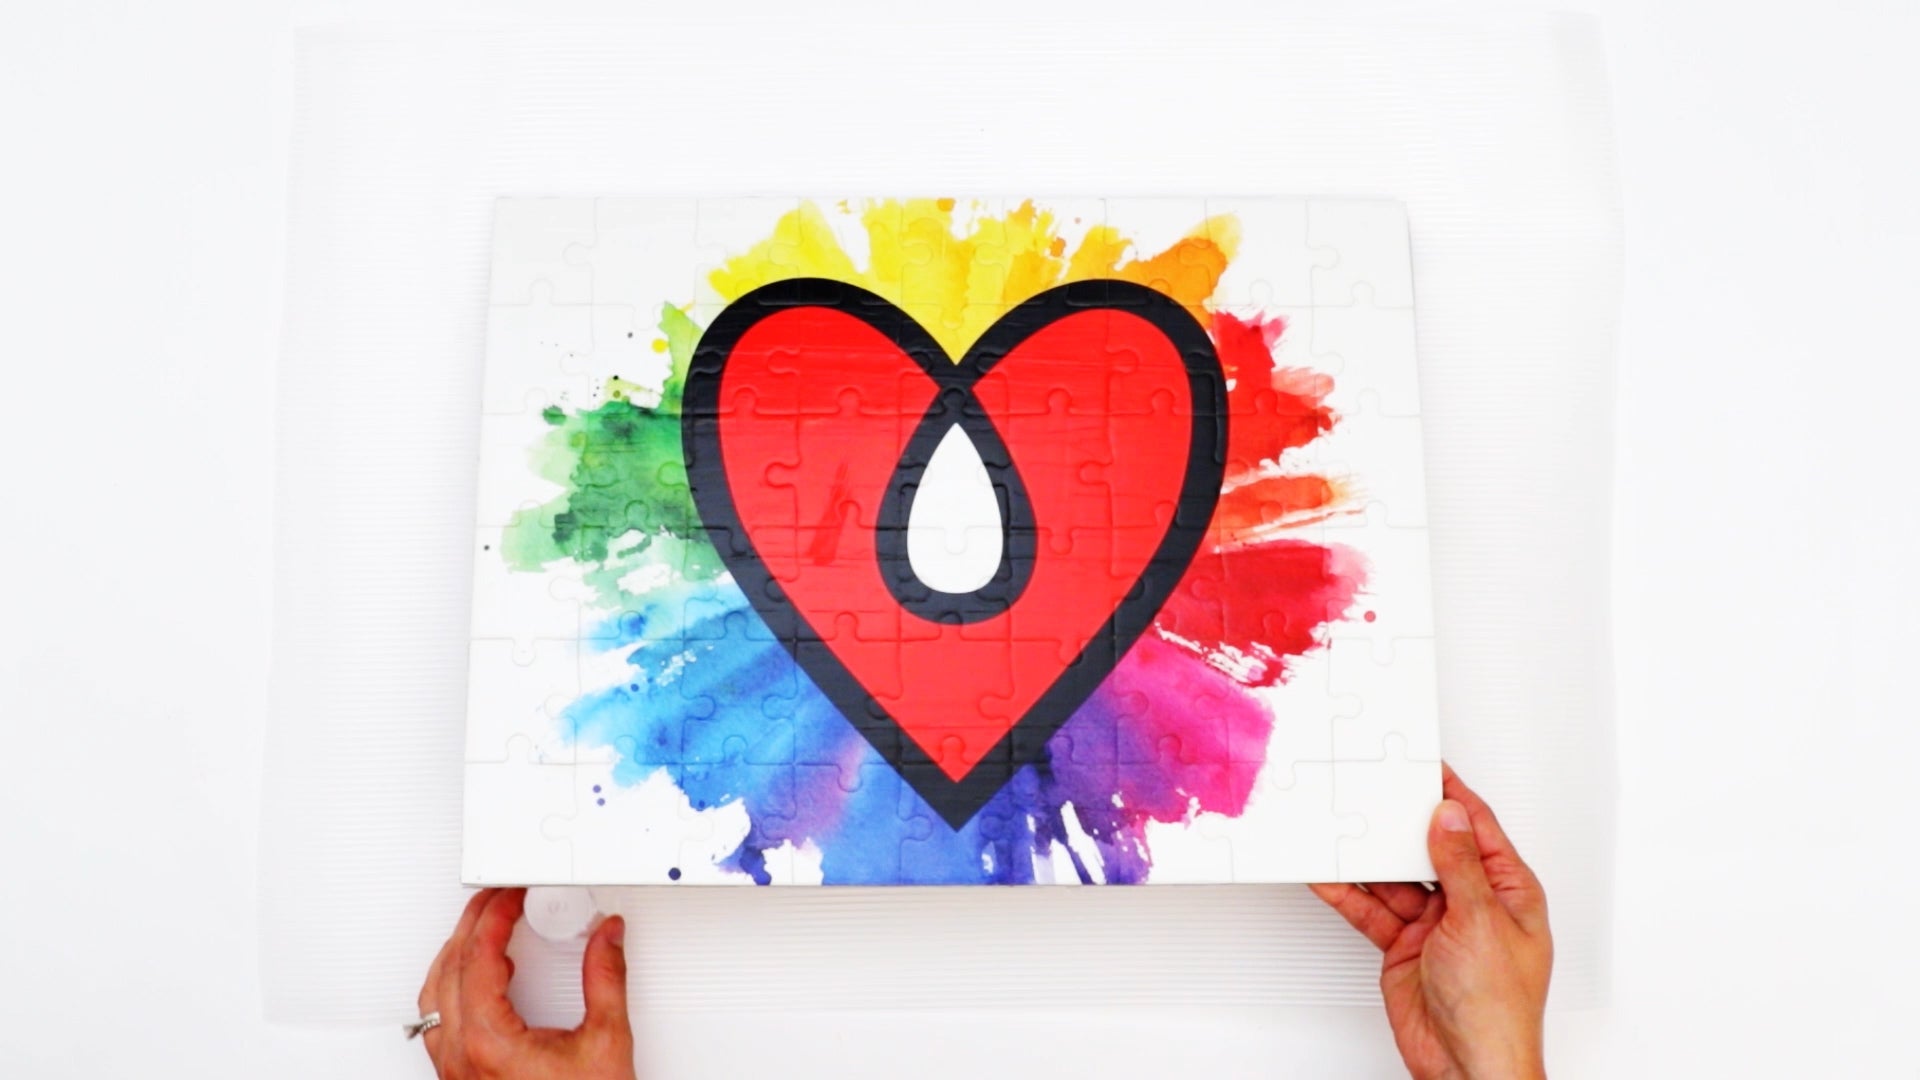
Pour the ArtResin onto the centre of your piece andspread it out to the edges using a plastic spreader or a popsicle stick. You'll have about 45 minutes of working time before the resin gets too thick to work with.
💡TIP: Read our blog How To Pour And Spread Epoxy Resin for more resin tips and techniques!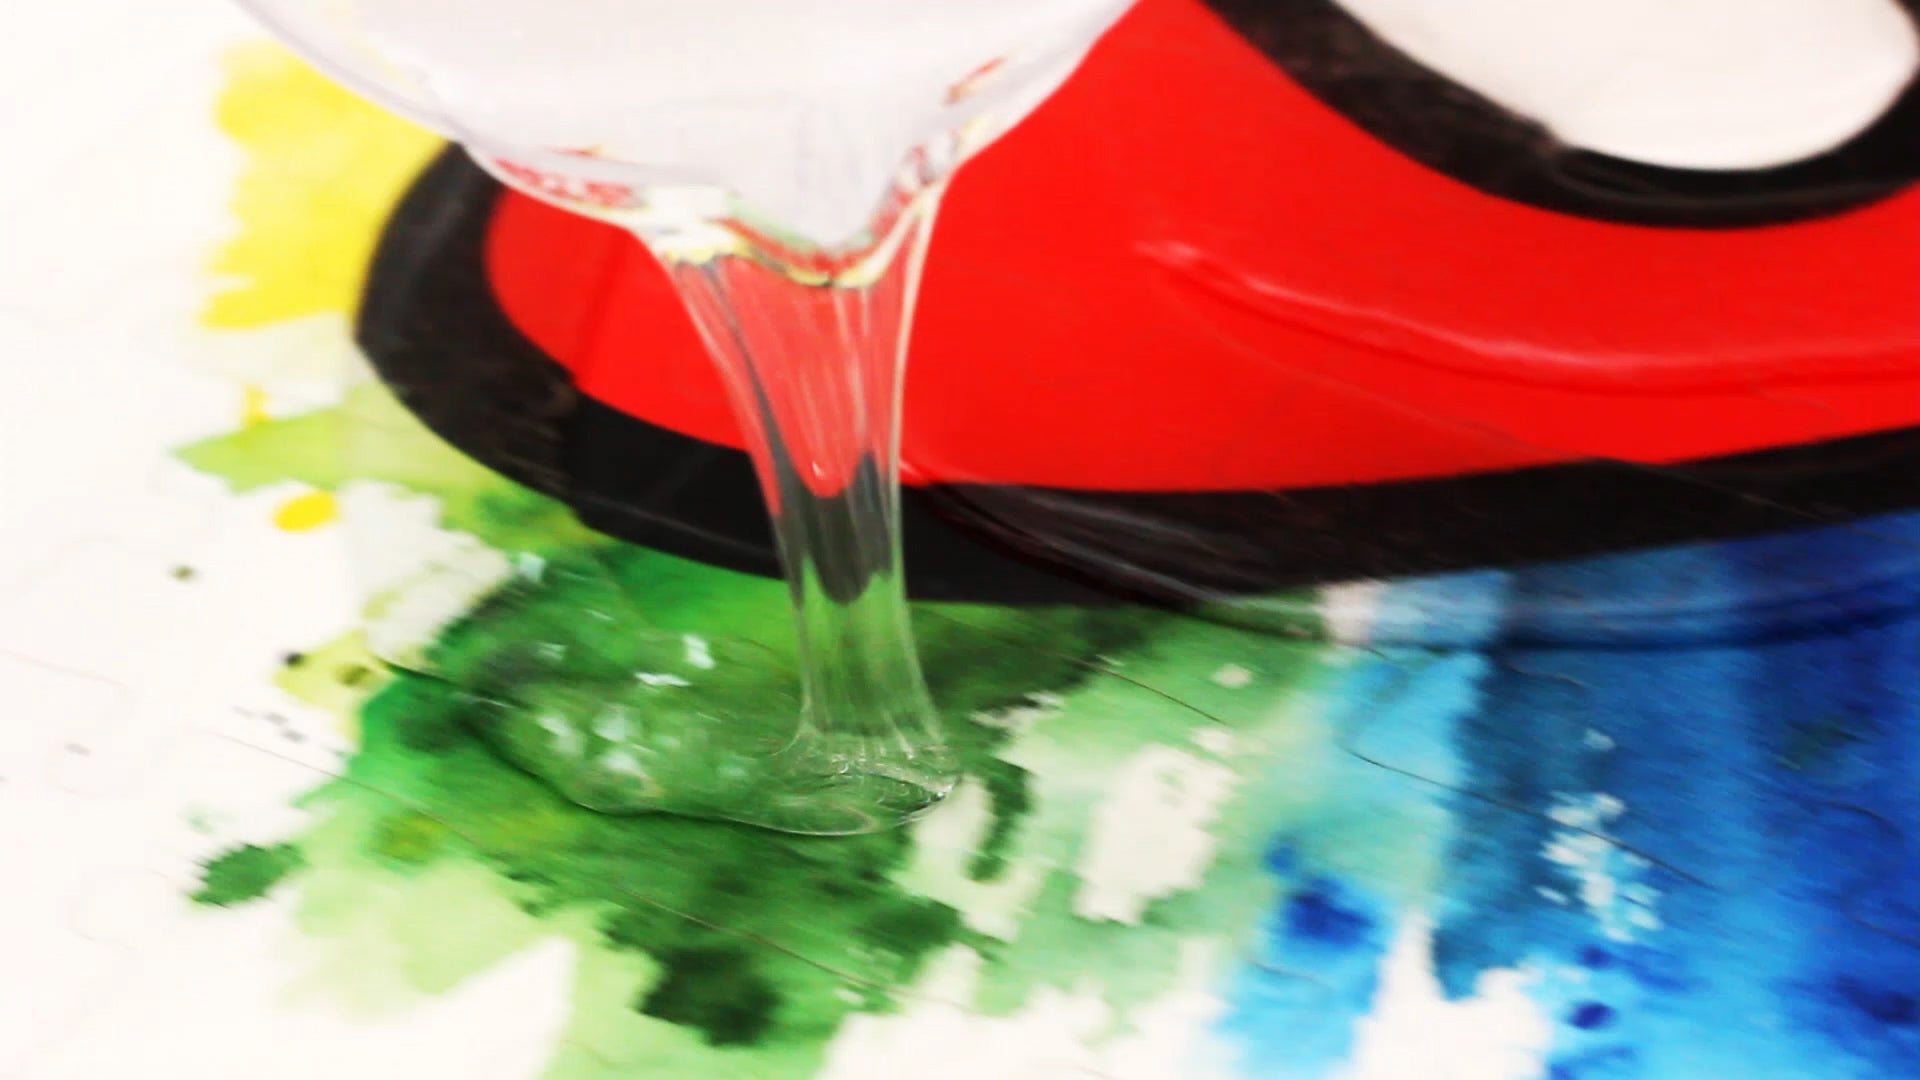
A Note On Doming your Resin:
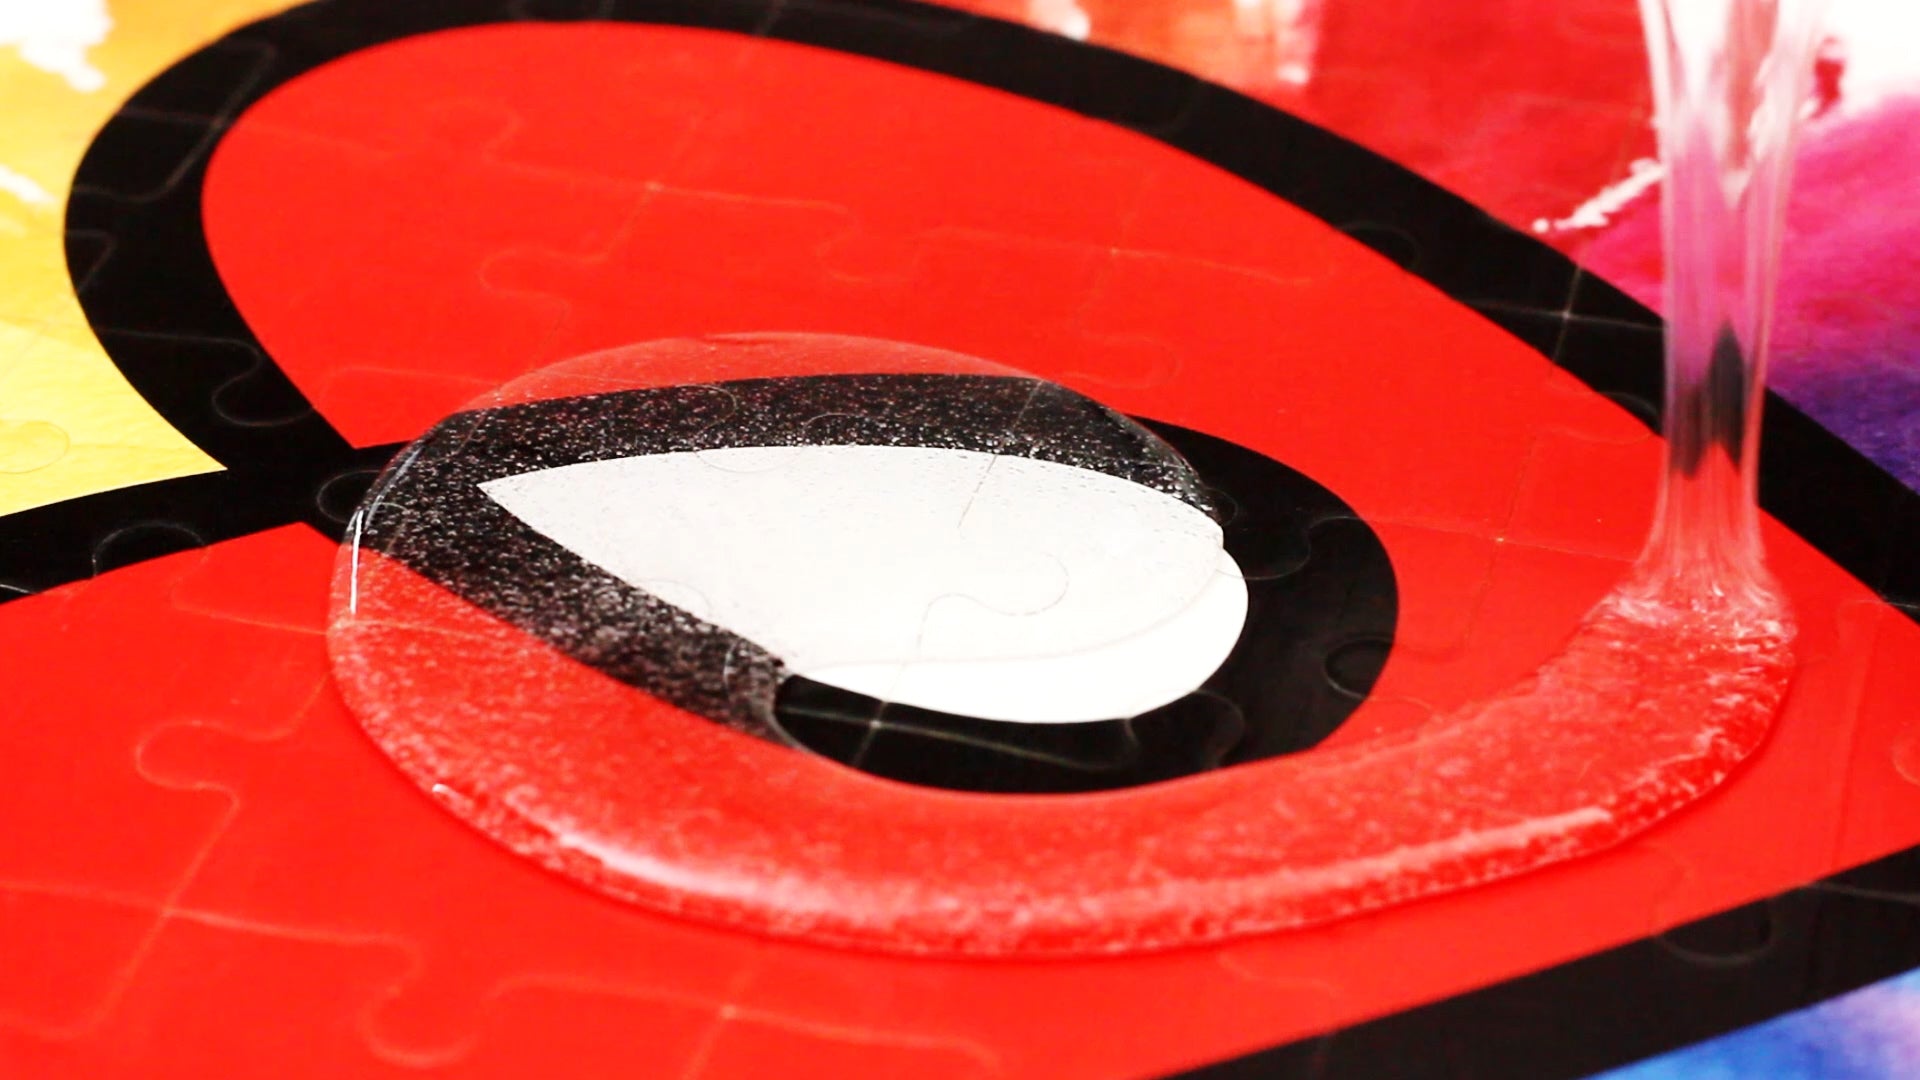
For a real pro finish, try doming your ArtResin, which is simply spreading your ArtResin right to the edge of your piece without going over the sides, allowing it to sit neatly on top of your artwork.
First, pour your carefully measured and mixed resin in the centre of your piece and using your spreading tool, work the resin slowly outward, gently nudging it to the edge - ArtResin's beautiful, viscous consistency means that it will sit exactly where you want it to. Doming requires no special tools and is an easy technique to master with a little patience and a steady hand - it's one of our favourite techniques here at the ArtResin studio!
💡TIP: You can tape off the sides as extra insurance the first few times you try doming, but once you get the hang of it, you'll find ( as in our video ) that you don't need to tape at all. Keep in mind that doming works best on pieces where the edges form a sharp 90 degree corner.
9. Use your Artist's Torch
Using yourArtist's Torch, hold the flame a couple of inches above the resin surface just long enough to pop the bubbles, keeping the torch moving from side to side at all times.
💡TIP: if you're nervous about using a torch, don't be! Read our blog with all you need to know about How To Use A Torch On Epoxy Resin.
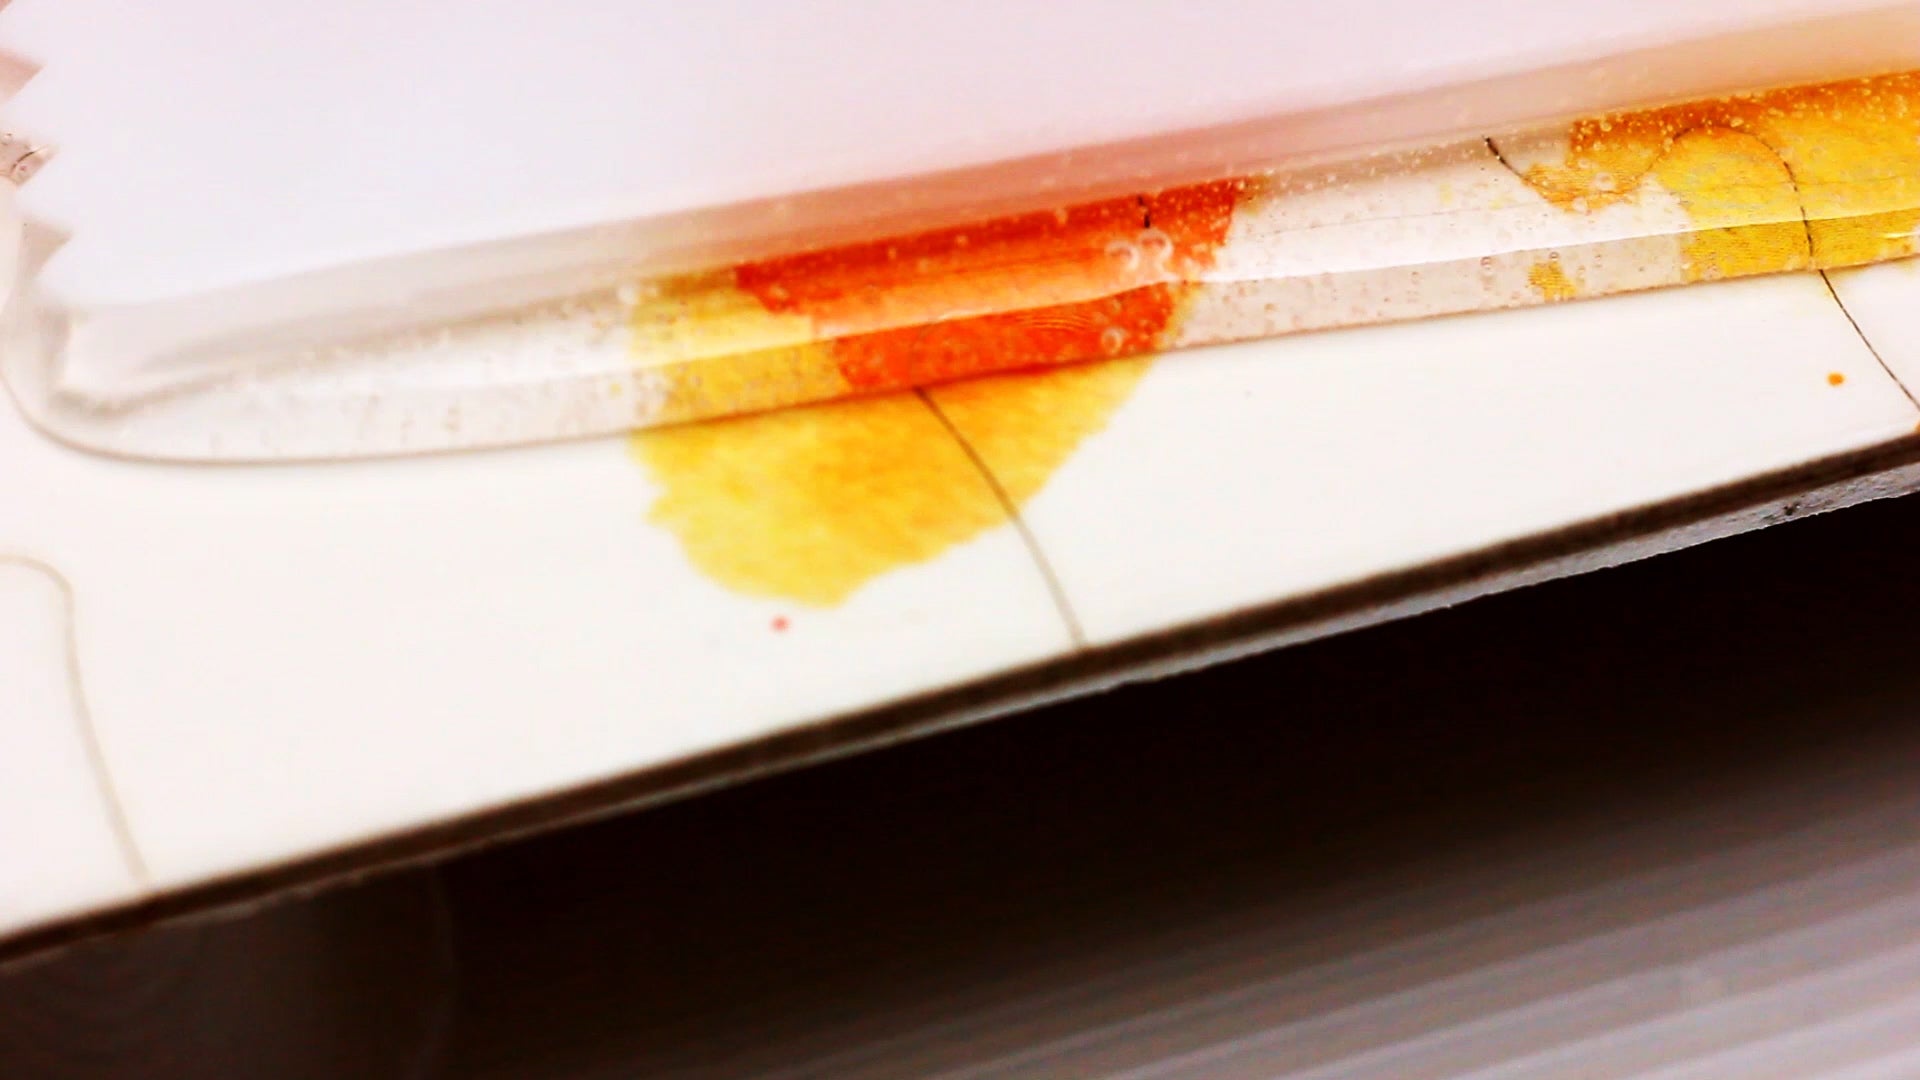
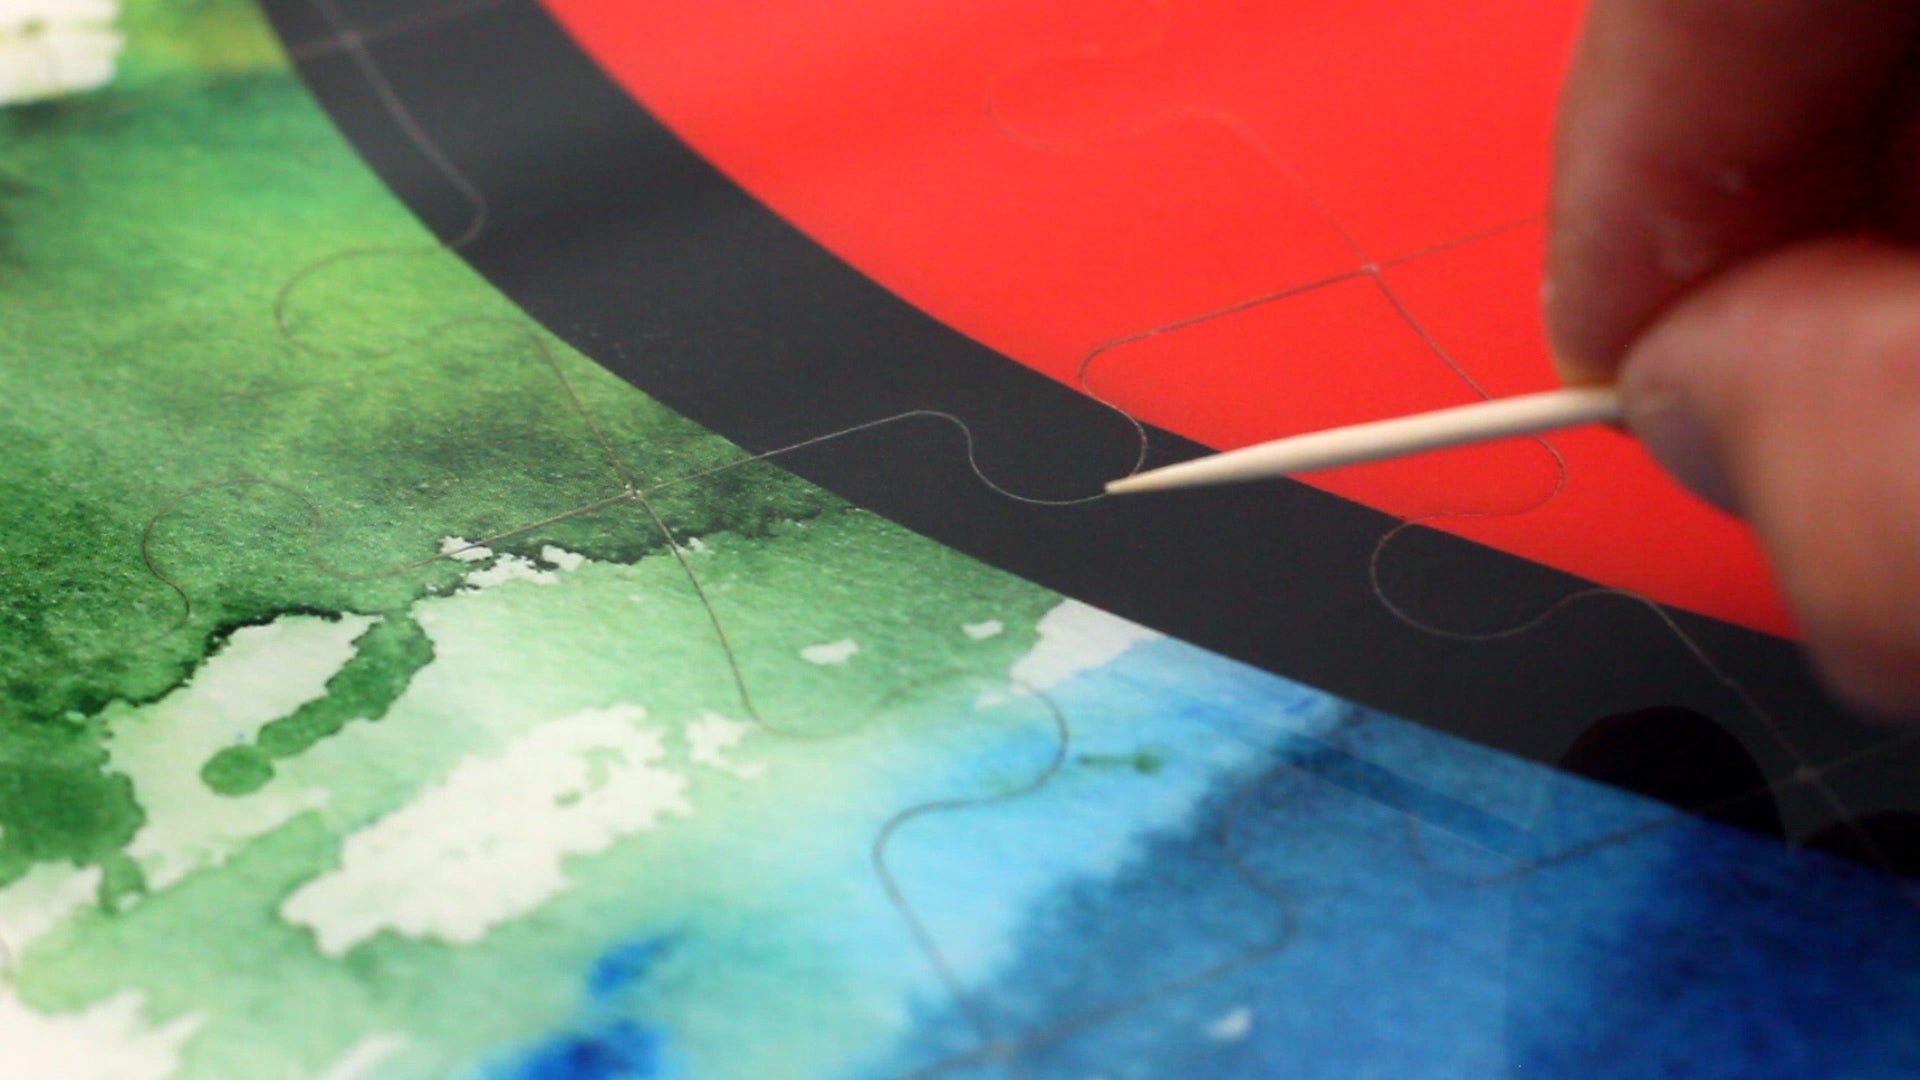
10. Check your Piece
Once the piece has been torched, look at the resin in the light for any missed bubbles, tiny hairs or bits of dust, using a toothpick to fish them out.
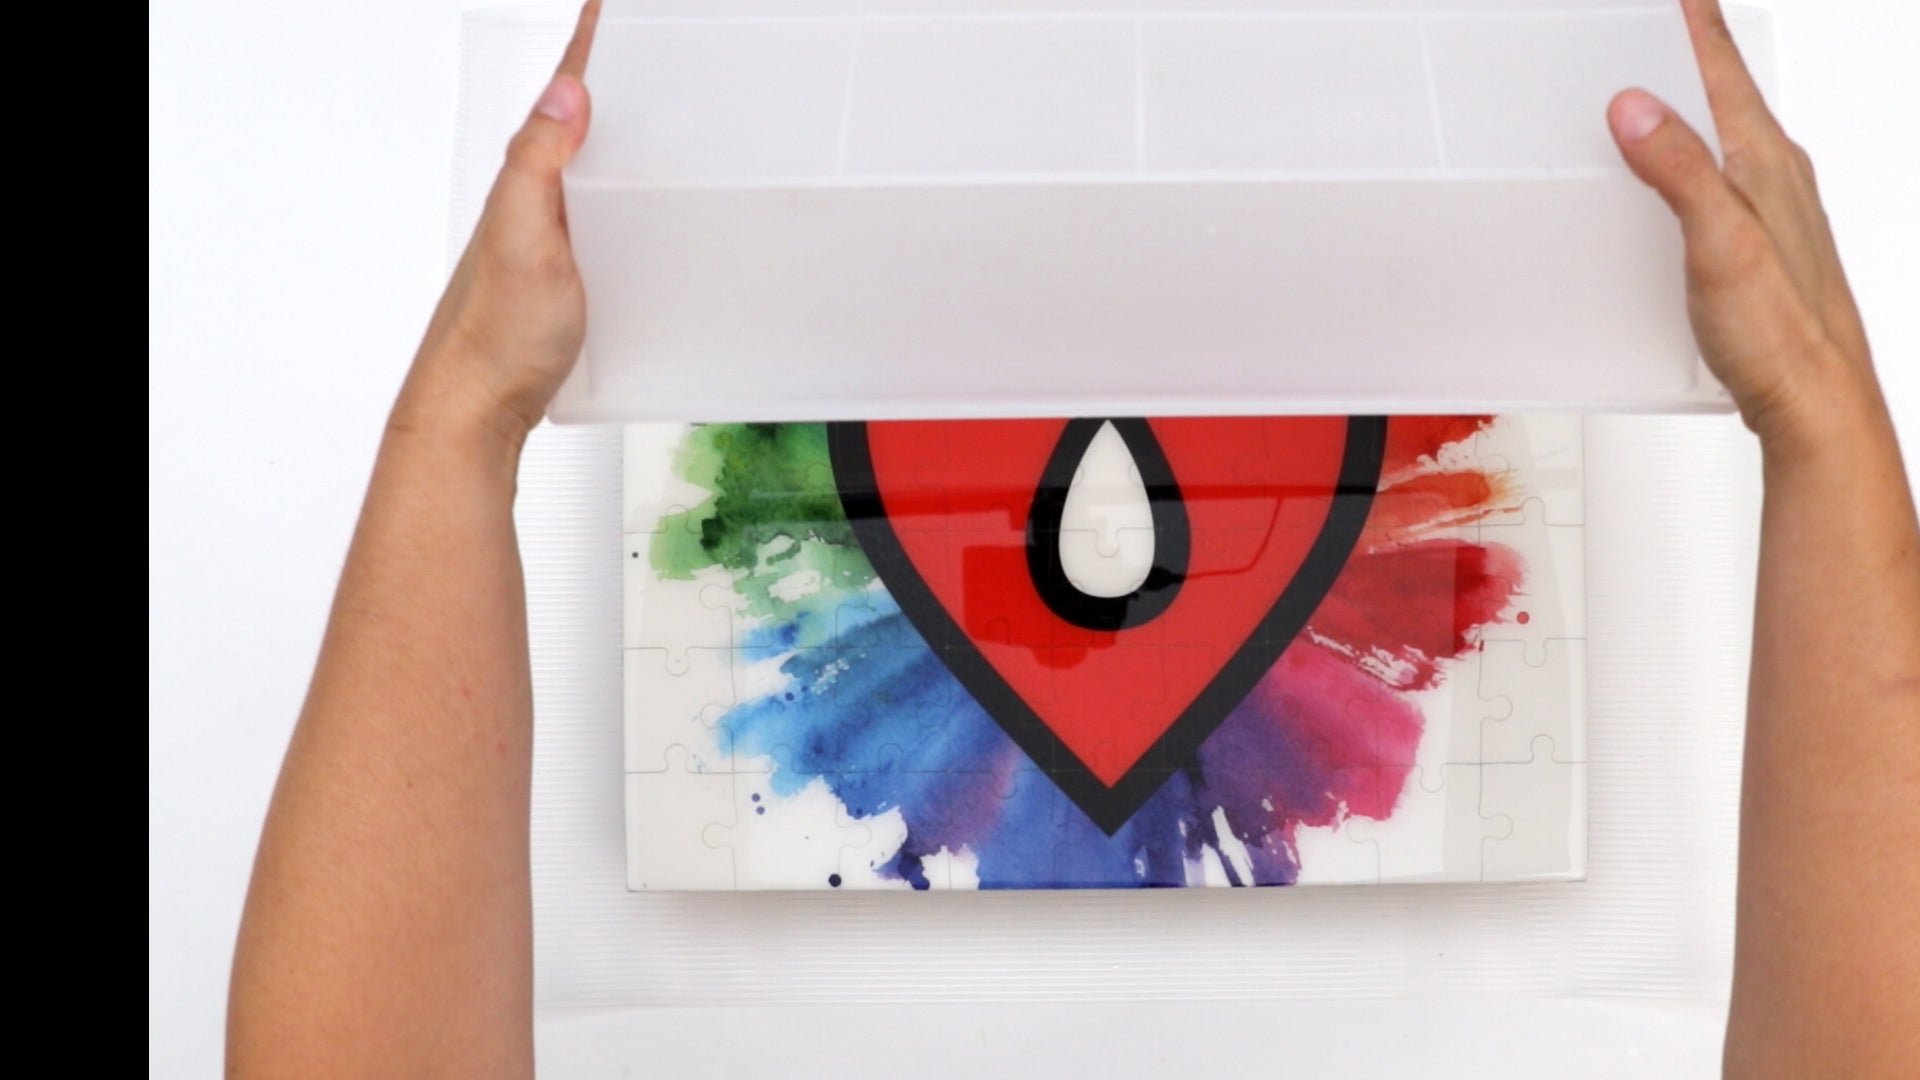
11. Cover your Puzzle
With a plastic tote or a cardboard box ( with the flaps cut off ) cover your piece and let it sit for 24 hrs until it's dry to the touch.
12. Wait 24 Hours
How To Clear Coat A Puzzle
Source: https://www.artresin.com/blogs/artresin/how-to-resin-puzzle
Posted by: overlyalifeen.blogspot.com
0 Response to "How To Clear Coat A Puzzle"
Post a Comment